WordPress: configuring your site
Note: This was written for WordPress 4; other versions may have some differences.
So you’ve got a WordPress site, and now you need to figure out what to do with it. Before you go leaping straight for adding posts, take a few minutes to set your basic site configurations.
But first, let’s define some terms: WordPress, in the broadest sense, is a content management system (CMS). It’s open source, so it’s free, and anyone can build themes or plugins for it. WordPress.com is a cloud-hosted service that hosts your site for you. Then there are self-hosted sites, where you can buy a domain through a hosting company (like BlueHost or HostGator), then install WordPress and manage it yourself. Self-hosting requires more effort to set up, but it also allows you more options (like the ability to use plugins, which you can’t on WordPress.com sites). I’m going to address mostly common elements, and I’ll note when we’re dealing with something that’s specific to one or the other.
Note: if you have a WordPress.com site, their terms of service grants them some rights to display and distribute your content on various parts of WordPress.com. (You retain the rights to your content.)
WordPress.com is also a blogging network, and you can go to the Reader section of your dashboard to find other sites on WordPress.com
Choosing a hosting service, registering a domain, and installing WordPress are big enough topics that I’ll skip them here. If all that sounds really overwhelming and all you want is a basic blog or site, you have the option of just signing up for free on WordPress.com.
For self-hosted sites, WordPress.org’s getting started page is another good resource for more articles and how-tos.
Logging in
Some people keep a login link on their site to reach their admin panel, but you don’t need that–honestly, I think it looks a little odd on personal sites. To get to your log-in page, add ‘wp-admin’ to the main URL: yoursite.wordpress.com/wp-admin
Once you log in, you’ll be taken to the dashboard for your site. The first time you go there, you’ll see a Welcome to WordPress window (click Hide This Screen in the lower right corner).
What’s this front end/back end business?
It’s not as exciting as it sounds (sorry). The front end of your site is just the site itself. When you’re logged in, you’ll see the toolbar across the top and extra Edit buttons that will let you edit content right from the front end. The back end is the admin panel, with the toolbar at the top and the sidebar on the left.

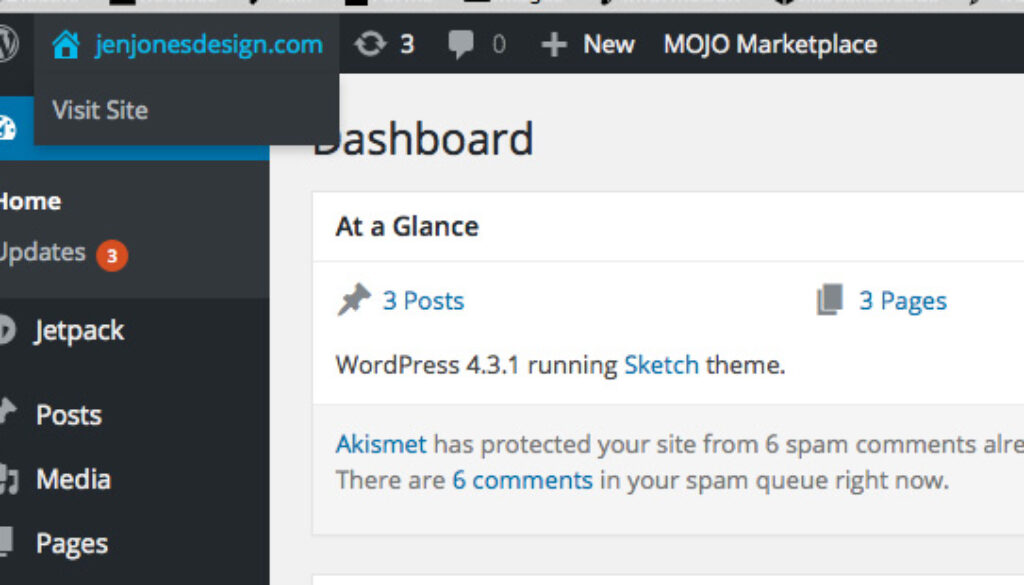
To move back and forth between the front end and the back end, click on the site name in the upper left-hand corner (or hover to get more options). There’s a toolbar across the top in either view, and you can even make basic edits or add posts from the front end of your site.
WordPress.com only: there’s an extra dashboard page in between the front and back end of your site–it’s really meant to encourage you to be involved in the WordPress.com community, follow other blogs and sites there, etc. That’s great if you want to do that. If not, click on Visit Site or WP Admin to get past it.
Basic configurations: Settings
Permalinks (self-hosted sites only)
By default, WordPress uses numerical values in URL links to posts, so they’ll look something like yoursite.com/?p=1. Instead of using numerical code, you want to change your URLs to be human-readable. In the admin panel sidebar on the left, go to Settings > Permalinks. You have a few options, but you probably want to go with the post name option.
Settings > General
Title and tagline: Most themes will display the title at the top of every page and in the browser titlebar. Same for the tagline, but where it shows up is related to the theme. You don’t need a tagline, but don’t delete the title, it’s used for search engines. Many themes allow you to hide the title.
Time zone, date and time formatting: The default time zone is UTC+0. Change this to whatever time zone you live in, along with your date and time preferences.
Site language: You can easily change the language settings for the admin panel here, too (if you change to another language and the theme you’re using supports that language, it will also switch).
MOJO auto update manager: WordPress can now update itself, which is a great idea, since one of the drawbacks of WordPress is how determined hackers are in attacking it. You can disable this if you want, but if so, you’d better be diligent about checking for updates.
Click Save Changes before leaving this section–always be sure to do this, if you navigate to another area without saving, any edits will be lost.
Settings > Writing
You can safely ignore this section for now, but here you can set WordPress to automatically convert emoticons to emojis, set default post categories, and set up posts via email. There’s also portfolio settings, which will require a portfolio-enabled theme or use of shortcode (and if that went straight over your head, odds are strong that you are not in need of a portfolio setup).
Settings > Reading
By default, your posts will show up on the front page of your site, but you can set whichever page you want to be the front page, and another page to be the posts page. So if you want a static landing page to be the main page of your site, you can set that to be the front page, then create a page called Blog to be the posts page.
Site Visibility/Search Engine Visibility: Choose whether you want search engines to index your site–most people want their site to be as findable as possible, so you’ll want to allow search engines to index. Selecting against it does not hide your site, you’ll have to make the site private to do that.
There’s a few other settings here about how many posts will show in a feed, full post vs. summary, etc. Again, you can safely leave this at the defaults if you don’t know for sure what you’d like yet.
Settings > Discussion
Here’s where you control basic settings for comments.
If you check the “Attempt to notify any blogs linked to from the article” box, WordPress will send out a ping to a site or article you have linked to in your post. Your mention of their site or article will show up in the comment section of their site, if that site allows pingbacks. (I deselect it, but it’s your call.)
If you check the “Allow link notifications from other blogs (pingbacks and trackbacks)” box, pingbacks and trackbacks will appear in the comments section of your posts. Most of those will be spam, so most of the time you just want to turn that off.
Email notifications, comment moderation, avatars, and ratings should be adjusted as appropriate for the site.
Remember to click Save Changes before leaving Settings–WordPress should give you a warning if you’ve changed settings without saving, but it’s just a good habit to get into. Besides, you shouldn’t tempt the universe by handing it an opportunity to give you a big ol’ Learning Moment on that one.
Users
It’s a good idea to go to Users and check the settings there. You can also add other users with different levels of access. Subscribers can only edit their own profiles. Contributors can write posts, but can’t publish them. Authors can write and publish posts. Editors can manage their own posts plus those of other users. And Administrators can access all administration features on a site.
On a self-hosted site, you can change your password and email in the Users area; on a WordPress.com site, you click on your gravatar (avatar image) on the top right and edit your profile.
That covers the basic configurations. Now you’re ready to start adding content.


